The satisfying thwack of a dart hitting the bullseye is a sound that can bring joy to any dart enthusiast. But those missed throws? Not so much. Steel-tipped darts can wreak havoc on your walls leaving unsightly holes and potentially damaging the drywall.
Fear not fellow fletchers! Creating a DIY dartboard backboard is a cost-effective and customizable way to protect your walls and elevate your darting experience.
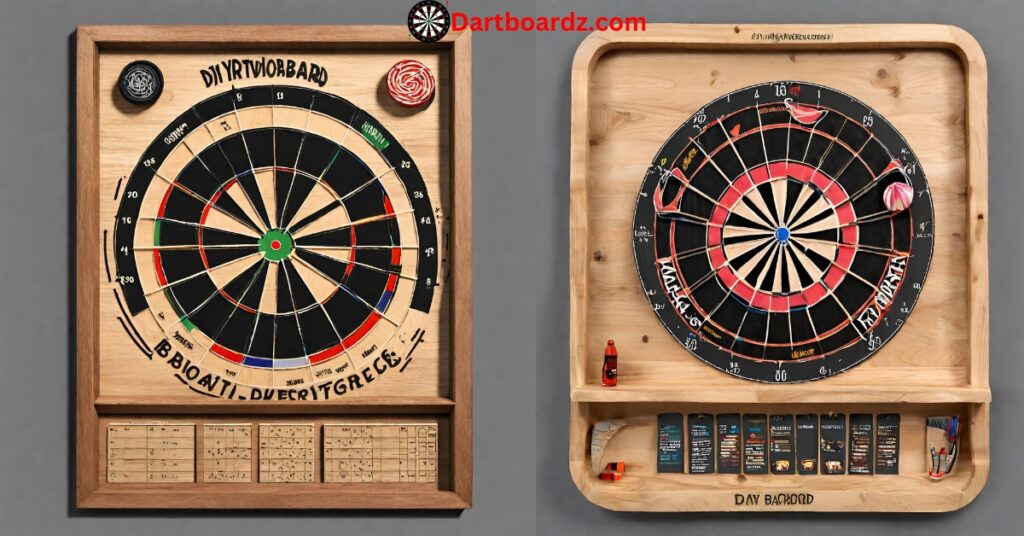
Choosing Your DIY Backboard Path
There are several approaches you can take with your DIY project each with its own advantages:
The Classic Wooden Frame
This is a sturdy and versatile option. You can build a simple frame from 2x4s and plywood or get creative with stained or painted designs. YouTube video on building a wooden dartboard protector here: https://m.youtube.com/watch?v=N1cUktIf3Z0 offers a great visual guide.
The Corkboard Canvas
For a more rustic look a large corkboard makes a fantastic dart-catching surface. It’s readily available at hardware stores and provides a self-healing property for minor dart holes.
The Repurposed Pallet Project
Looking for an Eco-friendly option? Pallets readily found online or at businesses can be deconstructed and transformed into a unique backboard. Just be sure to sand down any rough edges before hanging.
The choice ultimately depends on your desired aesthetic budget and DIY skill level.
READ NEXT: Top 5 Dartboard Wall Protectors to Save Your Walls in 2024
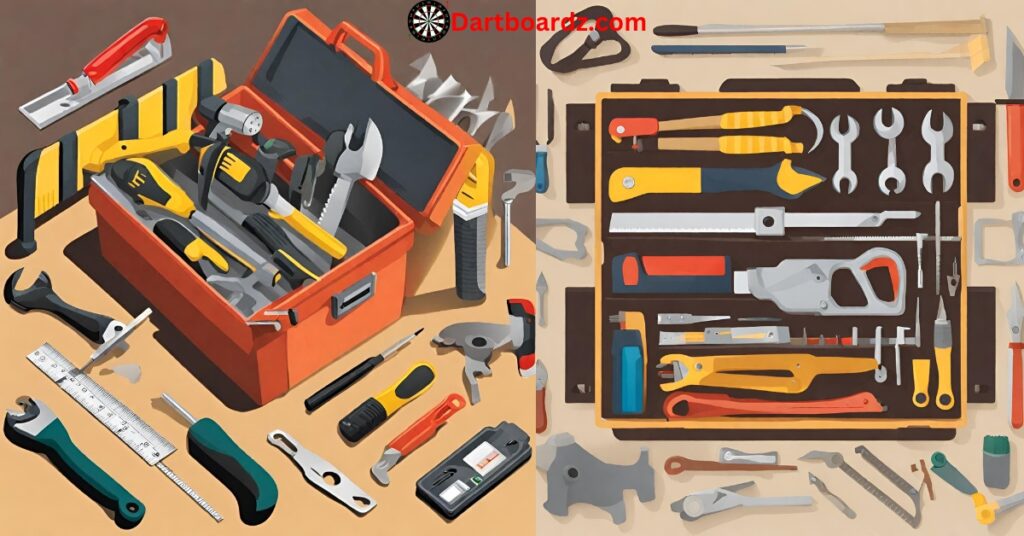
Tools and Materials Checklist
Once you’ve chosen your backboard path gather the necessary supplies:
For the Frame:
- Lumber (2x4s and plywood for a wooden frame)
- Saw
- Drill
- Screwdriver
- Sandpaper
- Paint or stain (optional)
For the Corkboard:
- Large corkboard panel
- Mounting hardware
- For the Pallet:
- Reclaimed pallet
- Saw (optional for resizing)
- Sandpaper
- Paint or stain (optional)
Universal Needs:
- Measuring tape
- Level
- Pencil
- Mounting hardware for dartboard
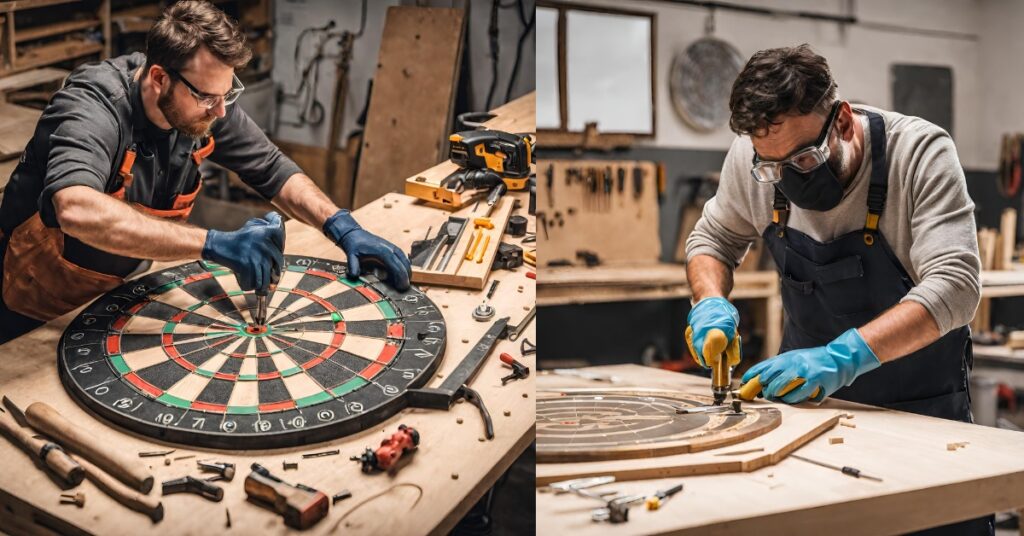
Building Your Backboard
The construction process will vary depending on your chosen material. Here’s a general breakdown:
Wooden Frame:
- Cut your lumber to size according to your desired backboard dimensions.
- Assemble the frame using screws and ensure square corners with your level.
- Attach the plywood backboard pre-drill screw holes to avoid splitting the wood.
- Sand smooth and paint or stain as desired.
Corkboard:
Simply mount the corkboard panel securely to your wall using appropriate hardware based on your wall composition (stud finder recommended).
Pallet:
- If resizing is needed use a saw to carefully cut the pallet to your desired dimensions.
- Sand down any rough edges and consider painting or staining for a finished look.
When building your backboard prioritize safety by wearing gloves and eye protection while using cutting tools like saws.
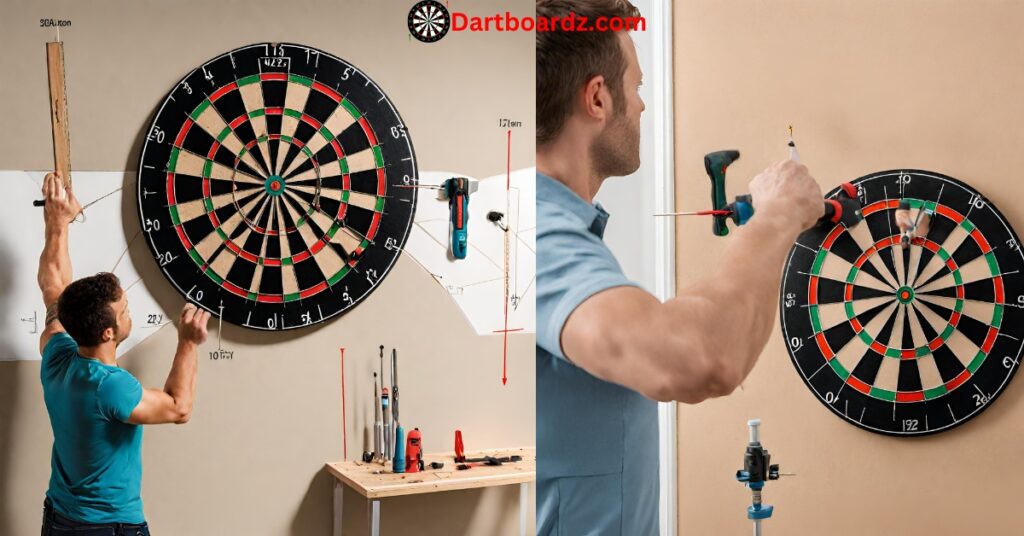
Mounting Your Masterpiece
Now comes the exciting part – hanging your backboard!
- Find the Perfect Spot: Choose a location with ample clearance around the throwing area. The standard dartboard height is 5 feet 8 inches to the center of the bullseye.
- Mark Your Mounting Points: Use a level to ensure your backboard hangs straight. Mark the drilling locations for the mounting hardware.
- Secure the Backboard: Using the appropriate hardware for your wall type (e.g. drywall anchors for standard walls) securely fasten your backboard to the wall.
Thinking Ahead: While hanging your backboard consider future maintenance or upgrades. Leaving some space between the backboard and the wall allows for easier access to electrical outlets or wiring behind the board if needed
The Finishing Touches: Adding Flair and Functionality
With your backboard firmly in place it’s time for the final touches:
Hang Your Dartboard: Following the manufacturer’s instructions mount your dartboard to the backboard ensuring proper centering.
Add Flair (Optional): Consider adding a surround or cabinet around the dartboard for additional protection and aesthetics. You can find pre-made options online or in sporting goods stores.
Beyond the Basics
The core functionality of your DIY backboard is complete but for the truly passionate dart enthusiasts there are ways to elevate your creation beyond the basics. Here are some inspiring ideas:
Lighting Up the Game:
LED Strip Integration: Incorporate LED strip lights around the perimeter of your backboard for a sleek and modern look. This not only enhances the aesthetics but also provides improved visibility for evening games.
Strategically Placed Spotlights: For a more focused approach consider installing adjustable spotlights that illuminate the dartboard itself. This can be particularly beneficial for competitive games or practicing accuracy.
Catch and Contain:
Catch Ring Installation: Adding a catch ring around the backboard can be a lifesaver for those errant throws. These rings often made of fabric or sisal catch stray darts and prevent them from damaging walls or furniture.
Designated Dart Holder: Incorporate a designated dart holder into your backboard design. This can be a simple shelf or a magnetic strip providing a convenient and organized storage solution for your darts.
Personalize Your Arena:
Engraved Design: For a truly unique touch consider having a custom design or logo engraved on your wooden backboard. This could be your team mascot a personal motto or even a dart-themed image.
Themed Surround: Take your dartboard backboard a step further by creating a themed surround. This could be anything from a rustic pub-style design to a sleek modern space station aesthetic.
When incorporating these enhancements prioritize safety. Ensure the catch ring doesn’t obstruct the throwing area and that spotlights are securely mounted to avoid any potential hazards.
Maintaining Your DIY Backboard
Taking care of your backboard will prolong its life and enhance your darting experience:
Regular Inspections: Periodically check the backboard and dartboard for any signs of damage or wear and tear.
Minor Repairs: For small holes in a corkboard simply push the cork material back together. You can replace sections of a damaged wooden backboard if needed.
Cleaning: For wooden or corkboard backboards a damp cloth is sufficient for cleaning. Avoid harsh chemicals.
By following these simple maintenance tips you can ensure your DIY backboard continues to provide a fun and functional space for countless hours of dart-throwing enjoyment.
Safety First
While these enhancements can elevate your darting experience safety should always be a priority. Here are some reminders:
- Safety Zone: Ensure there’s a clear safety zone around the throwing area to prevent accidental injuries. The standard throwing distance is typically 8 feet from the oche (the line you stand behind when throwing) to the dartboard.
- High-Quality Darts: Invest in high-quality steel-tipped darts with proper points. Blunt or damaged darts can ricochet more easily posing a safety hazard.
- Supervision for Beginners: Always supervise beginners and children when they’re playing darts to ensure proper technique and safe throwing distances.
Conclusion:
Crafting your own DIY dartboard backboard is a rewarding experience that allows you to protect your walls personalize your game space and elevate your darting experience. Whether you choose a classic wooden frame a rustic corkboard or a repurposed pallet creation this guide has equipped you with the knowledge and inspiration to bring your vision to life.
FAQs:
What’s the best material for a DIY backboard?
There’s no single “best” material as it depends on your preferences and budget. Wooden frames offer sturdiness and customization corkboards are self-healing and readily available while repurposed pallets provide an eco-friendly option.
How high should I hang my dartboard?
The standard dartboard height is 5 feet 8 inches to the center of the bullseye. Make sure you have ample clearance around the throwing area for safety.
Do I need any special tools to build a DIY backboard?
The tools required depend on your chosen material. For a wooden frame you’ll need a saw drill screwdriver and sandpaper. Most backboards require basic tools like a level measuring tape and a pencil.
What’s the difference between the throwing distance and the safety zone?
The throwing distance is the standard 8 feet from the oche (throwing line) to the dartboard. The safety zone extends beyond the throwing distance to ensure there’s enough space for people to stand safely without being in the path of a dart.
How can I personalize my DIY backboard?
There are endless possibilities! Consider painting or staining your backboard adding a custom design incorporating a catch ring or dart holder or even creating a themed surround around the dartboard.